
9 Things To Prepare For Your Day Hike
By: AJ CutlerDay hikes are the perfect adventure. You get to spend the entire day out in the wilderness putting miles on your hiking shoes. While you may think it’s just one day, you still want to be as prepared as possible A day can be a lot longer than you realize. Check out the following 9 tips to help prepare you for your day hike adventure.
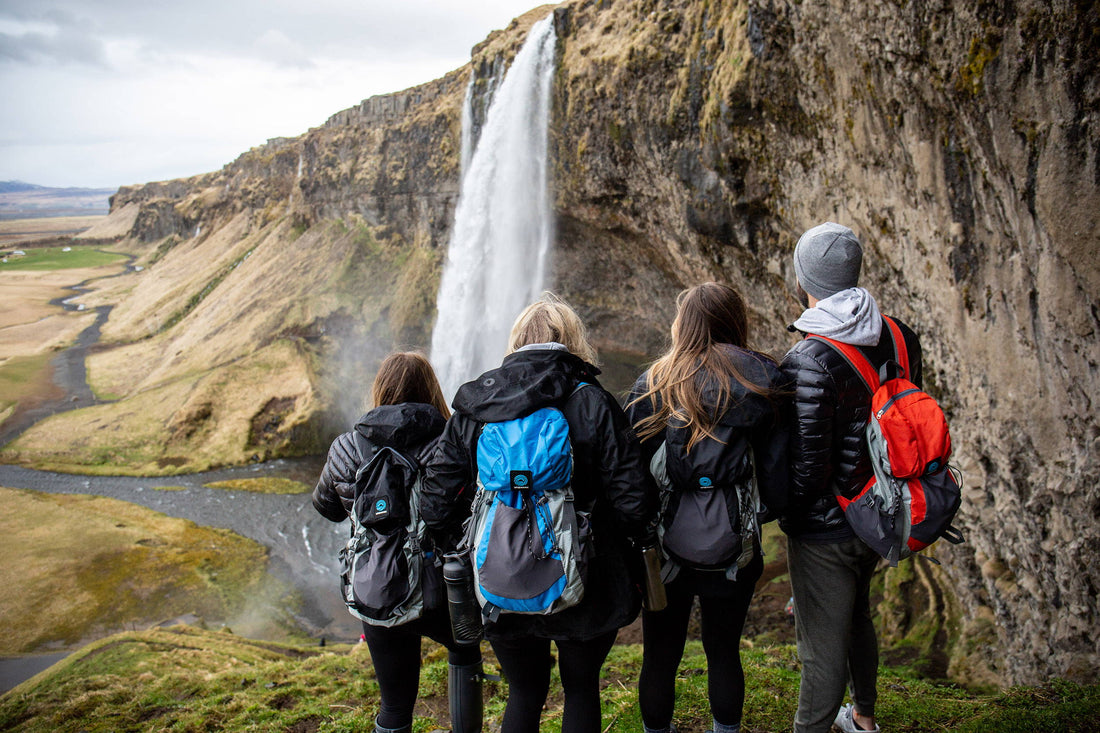
1. Choosing Day Pack
This may seem a little obvious, but a good pack makes it so much easier to keep everything together. Not to mention the hiker aesthetic that you will radiate. Smaller packs are ideal. Anything from a 13 liter to a 30 liter will be perfect for one day. Packs that have either exterior water bottle sleeves or a hydration bladder pouch are ideal though not required. You may want to think of your day pack in terms of hours you’ll be using it. For example, 13 liter packs are great for 1 hour hikes while 30 liter packs are more appropriate for longer hikes. The longer you are out there, the more food, water and layers you’ll want to be able to pack!
Note: Check out the Highpoint Daypack for something compact with external water bottle sleeves
2. Bring Enough Water
If you pack nothing else, at least bring the water. Bladders may be harder to clean, but it’s so much easier to stay hydrated if the straw is close to your face. Plus, most are about 2 liters, so it will give you just the right amount for a whole day’s worth of water. It also fits easier in most day packs. However, reusable water bottles are just as handy. Though if you choose to go this route, you’re going to want to bring two 32oz water bottles in order to reach your recommended daily intake. Something important to note, the amount of water you need also correlates to the miles, temperature, sun exposure, and elevation gain on the trail. Several hours of intense hiking might require 4+ liters of water. Pack a water filter just in case. Research in advance to know if there is natural water available to filter on the trail. If not, pack extra water.
3. Food Is Your Friend
One of the best rewards of hiking is enjoying a meal at your hiking destination with a view of some cascading waterfall or vast canyon. If you’re gone all day, then lunch is a must. My go-to is a nut butter sandwich. It doesn’t need refrigeration. It’s customizable with other condiments like jams and jellies. It easily packs in a reusable container so you can pack as much as you want, or split a whole loaf with your adventure buddies. Don’t forget the snacks! Granola bars, DIY trail mix, even gummy candies. Quick sugars and carbs are great when you are feeling low on energy. No one wants to finish a hike hangry. Plus, the container you use to pack your sandwich in can now be used to pack your trash out! Once you get behind on nutrition, it’s hard for the body to catch up. For a strenuous hike, plan on eating every 90 minutes or so, even if you aren’t hungry. Your body will thank you on that last 2-3 mile stretch at the end.
4. Bring Directions
In the world of technology, finding hikes is so easy! Though we need to remember that you won’t always have service on remote hikes, so take some screenshots of the maps and directions. Be fully charged before heading out, and use airplane mode to keep that charge as long as possible. Bring an extra battery pack as well as a map of the area in case of emergencies. There are apps like Alltrails and Gaia GPS that can track your location even in airplane mode. Gaia is especially helpful because it records your route and can help you find your way if you lose your trail on the way back. Alltrails enables you to download maps beforehand if you aren’t going to have service.
5. Layer Up (and Down)
You may have checked the forecast, but conditions can change rapidly. Be prepared to adjust for different temperatures. Especially when hiking up to higher elevations, into caves, or near water. Not to mention if your adventure will go into the evening. Quarter-zips and light jackets are a perfect start because they can be packed down without difficulty and taken out when needed!
6. Bear Spray
Depending on the area, bear spray is necessary. Make sure to brush up on the instructions and the local wildlife in your hiking destination! Recently, a ten-year-old boy was saved by his parent’s quick use of bear spray while hiking in Yellowstone.
7. First Aid
This is something that you can always leave in your bag! Create your own with a small zipper bag, bandages, gauze packets, antibiotic ointment, medical tape, moleskin, and ibuprofen. Periodically change out your supplies to ensure everything is ready when you need it.
8. Sun Protection
Sunscreen is another essential to keep with your first aid kit. At least 15 SPF should always be used on your face, neck, and hands. Higher SPF can be packed for more exposed hikes. Don’t forget your shoulders and the back of the legs! Invest in some 100 UV Protection glasses with polarized lenses. It’s also nice to not be squinting when observing the beautiful views. Hats give protection from the harsh sun! Visors, snapbacks, dad hats, etc. Sport your favorite brand, AND save your face. Keep in mind that sun exposure becomes more acute at higher elevations even when you feel the temps dropping!
9. Bring a Multi-tool
Make sure it includes knives and scissors to supplement your first aid kit.
Bonus Material:
You dared to go out where not many people get to adventure. Take some pics to share with your friends, or keep them to yourself to reminisce. Whether it’s a phone, digital camera, Polaroid cam, GoPro, or even a disposable one, you deserve to take pictures that will be a ticket back to memorable moment in time!
Go Explore!
What day hike are you ready for? Comment below with suggestions in your area!
Published on


